Tools needed:
- 1 quart acrylic paint
- Course haired paint brush or gravity sprayer
- Saw horses
- Painters tape
- Sanding sponge 120 grit
- (2) Clear lacquer rattle cans or 1 pint polyurethane clear
The hardest part of painting your barn door like a pro is choosing your color. I will assume you've lost plenty of sleep figuring that out and now you are ready to start painting!
STEP 1–PREP
It is very important to properly prep your barn door for paint. If there is any oil, dust, water or putty that has not been removed then you will have issues with the paint properly adhering to the wood of the door. To prep your door, it is easiest to place it on two saw horses on a level surface and place a drop cloth underneath it to catch any overspray or drips. Next, take your sanding sponge and lightly "scuff" the entire surface of the door. Then wipe or blow off any of the dust you create.
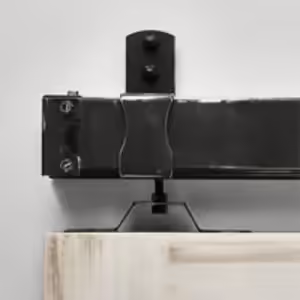
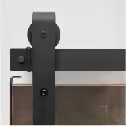
When sanding and painting a barn door that has glass windows in it, tape off any areas that have glass installed inside the door frame.
STEP 2–PRIME/PAINT
First off, apply a coat of primer. Primer is used to seal the door and prepare the door for the final coat of beautiful color. Primer is typically white. This step will set you apart as an artist verses a mad scientist. If you use a brush, the strokes will be seen and can make or break the look of the finished product. If you use a gravity feed sprayer with air pressure, then you'll be able to accomplish a professional grade smooth finish. Either way you choose to paint your barn door, the critical aspect of this step is to seal the entire surface of the door including the top and bottom edges of the door. Also, make sure to paint both sides without more than 3 hours wait between sides. If you seal one side and wait longer than 3 hours to seal the other side, then you will risk the door warping. So, be quick about it.
STEP 3–FINAL SEAL
Once the barn door is fully painted, you will be able to still manipulate the finish until you give it the final seal with the clear lacquer or polyurethane coat. If the door will be used for an exterior application, then you will want to use a polyurethane as it is much stronger and resistant to weather and water. Evenly spray on 3 thin layers of clear coat waiting approximately 15 minutes between coats.
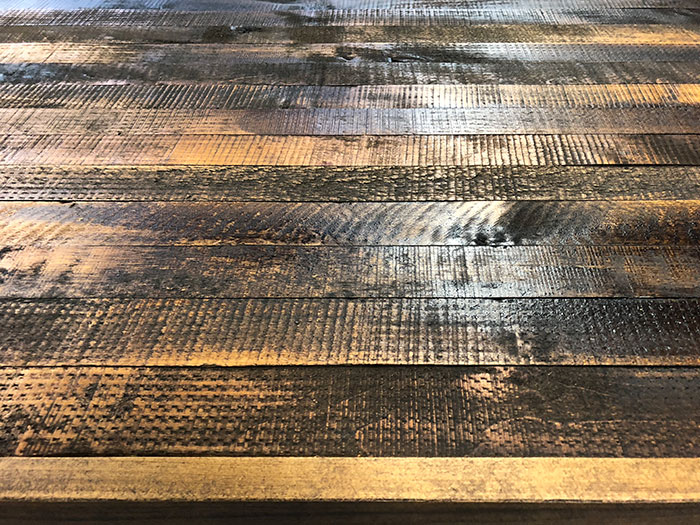
FEELING BRAVE?
After the first clear coat, you may want to add some character and depth with some glaze, then grab a rag and wipe in the glaze into the joints and corner depths of the door then continue with the subsequent clear coats.
DON'T BE IMPATIENT
Wait to handle the door as typical clear coats actually take many hours to fully cure. You should be able to handle the door within an hour of your final clear coat but it is still vulnerable to damage until fully cured. So, be patient.
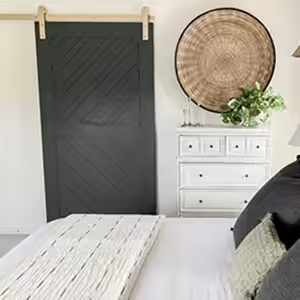
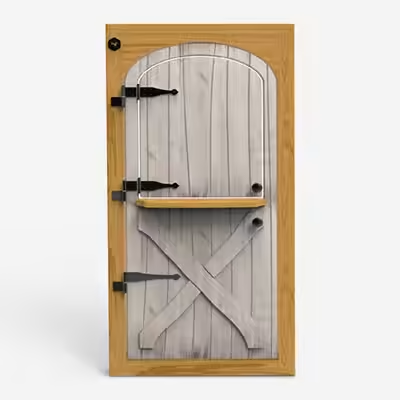
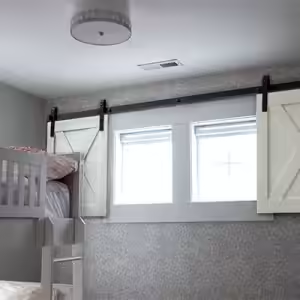
Rustica has created the most unique finishes for barn doors and interiors doors! We stand as the leader in the door industry for artistic door finishes. Our entire catalog of barn doors, dutch doors and front doors are available in dozens of finish options.
Click here to see Rustica's many door options.

 800-891-8312


-1601395521090.avif)